
Unlock the power of smartphone photography with this ultimate guide. In today’s world, nearly everyone has a powerful camera in their pocket, capable of capturing stunning images and videos. This comprehensive guide provides everything you need to know to elevate your mobile photography skills, from understanding the basics of composition and lighting to mastering advanced techniques like long exposure and panorama. Whether you’re a beginner looking to take better snapshots or an experienced photographer seeking to expand your creative toolkit with smartphone photography tips, this guide will equip you with the knowledge and inspiration you need to transform your everyday moments into extraordinary visual stories. Learn how to harness the full potential of your smartphone camera and discover the art of capturing breathtaking photos with the device you always have with you.
This ultimate guide covers all aspects of smartphone photography, including understanding different shooting modes, mastering manual controls, exploring various composition techniques, and utilizing editing apps to enhance your images. Discover the secrets to capturing stunning portraits, landscapes, macro shots, and more, using only your smartphone. We’ll delve into the technical aspects of mobile photography, such as ISO, aperture, and shutter speed, explaining them in a clear and concise manner. You’ll also learn how to utilize natural light, choose the right angles, and effectively use accessories to elevate your smartphone photos. Prepare to unlock your creative potential and capture the world around you in breathtaking detail with the power of smartphone photography.
Understanding Smartphone Camera Settings
Mastering smartphone photography involves understanding your camera settings. While automatic mode can be convenient, exploring manual controls unlocks your phone’s photographic potential. This allows for greater creative freedom and control over the final image.
Key settings include ISO, which controls sensitivity to light. A higher ISO brightens images in low light, but can introduce noise. Shutter speed determines how long the sensor is exposed to light. Fast shutter speeds freeze motion, while slower speeds can create motion blur or capture more light in dark environments. Finally, aperture, represented by the f-number (e.g., f/2.2), dictates the amount of light entering the lens. A lower f-number signifies a wider aperture, allowing for more light and a shallower depth of field.
Familiarizing yourself with these settings empowers you to tailor your camera’s behavior to specific scenes and achieve desired effects.
Utilizing HDR for Better Photos
High Dynamic Range (HDR) is a powerful tool for capturing scenes with a wide range of light and shadow. It works by taking multiple photos at different exposures and combining them into a single image. This allows you to retain details in both the bright highlights and dark shadows, resulting in a more balanced and visually appealing photo.
When to Use HDR: HDR is particularly effective in high-contrast situations, such as landscapes with bright skies and dark foregrounds. It can also be useful for backlit subjects and indoor scenes with varying light sources.
When to Avoid HDR: Avoid HDR when capturing motion. The multiple exposures required can lead to ghosting artifacts if elements in the scene are moving. HDR can also sometimes produce overly saturated or unnatural-looking results, so use it judiciously.
Most smartphones have an automatic HDR mode that will activate when needed. However, you can usually also manually enable or disable it in your camera settings. Experiment to see what works best for your specific scene.
Composition and Framing Tips
Strong composition is key to a compelling photograph. Consider the rule of thirds, placing key elements off-center for a more dynamic image. Imagine your frame divided into nine equal parts by two horizontal and two vertical lines. Place points of interest along these lines or at their intersections.
Leading lines can draw the viewer’s eye through the image. Use roads, paths, or even natural elements like rivers to create a sense of depth and guide attention to your subject. Experiment with different angles and perspectives. Shooting from a low angle can make your subject appear larger and more powerful, while a high angle can provide context and a sense of scale.
Editing Photos on Your Phone

Once you’ve captured a photo, editing on your phone can elevate it further. Modern smartphones offer powerful editing tools right at your fingertips.
Key adjustments you can make include brightness, contrast, saturation, and sharpness. Experiment with these to fine-tune your image and achieve the desired look.
Many phones offer built-in filters which can quickly apply stylistic effects. However, use these sparingly as they can sometimes appear overdone.
Consider exploring third-party editing apps for more advanced features such as selective editing, curve adjustments, and healing tools. These offer a greater level of control over your image manipulation.
Best Apps for Smartphone Photography
While modern smartphone cameras are incredibly capable, dedicated photography apps can significantly enhance your mobile photography experience. These apps provide greater control over settings like ISO, shutter speed, and white balance, allowing you to achieve professional-level results.
Several popular options cater to various skill levels. For beginners, user-friendly apps offer intuitive interfaces with automated features and helpful guides. More advanced photographers can opt for apps with robust manual controls and RAW image capture capabilities.
Consider these factors when choosing an app: your current photography expertise, desired level of control, and specific features you require. Experimenting with different apps is highly recommended to discover the perfect fit for your photographic style.
Taking Advantage of Lighting
Light is the foundation of photography. Understanding and utilizing light effectively is crucial for capturing stunning images with your smartphone.
Natural light is generally preferred. The golden hour, shortly after sunrise and before sunset, provides a warm, soft light ideal for most subjects. Overcast days offer diffused light, minimizing harsh shadows and creating even exposure.
Avoid shooting in direct midday sunlight, as it can create strong shadows and washed-out highlights. If shooting in harsh light is unavoidable, try using your subject to block the direct sunlight or find shaded areas.
Explore using artificial light sources at night. Experiment with streetlights, neon signs, or even a simple flashlight to add drama and interest to your photos.
Capturing Motion and Action Shots
Freezing a fleeting moment requires understanding your smartphone camera’s capabilities. Shutter speed plays a vital role. Faster shutter speeds freeze motion, while slower speeds create motion blur.
Your phone likely has a ‘Sports Mode’ or similar. This automatically optimizes the settings for capturing action. Experiment with this to understand its effect. For more control, consider exploring manual camera settings if your device offers them.
Anticipating the action is key. Try to predict where the subject will be and pre-focus on that area. Burst mode is also an invaluable tool. It captures a rapid sequence of photos, increasing the chances of capturing that perfect shot.
Portrait Mode Mastery
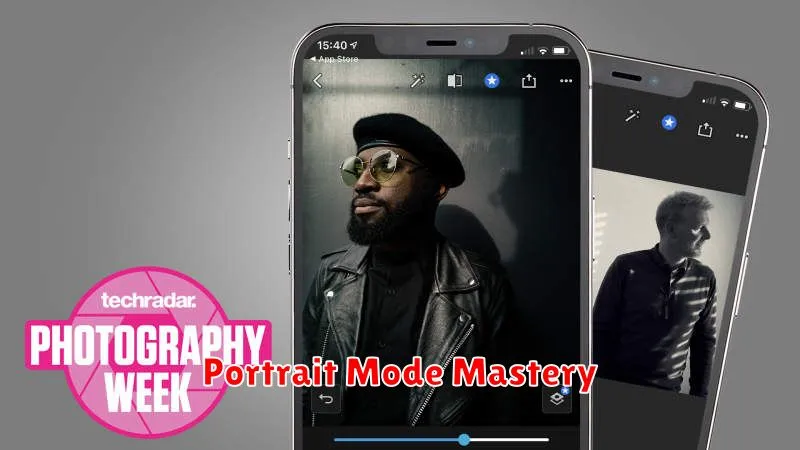
Portrait mode, also known as bokeh mode, is a powerful tool for creating professional-looking portraits with your smartphone. It simulates the shallow depth of field effect achieved by DSLR cameras, blurring the background and bringing the subject into sharp focus.
This effect is achieved by using a combination of software and hardware. Dual-lens systems compare images to calculate depth information, while software algorithms blur the background accordingly. Even single-lens phones use computational photography to identify the subject and apply the blur.
To maximize your portrait mode results, ensure your subject is well lit and positioned a suitable distance from the background. Experiment with different distances and lighting conditions to achieve the desired level of background blur.
Macro and Close-Up Techniques
Macro photography reveals intricate details often unseen by the naked eye. While dedicated macro lenses offer the best results, smartphones can achieve impressive close-up shots with a few techniques.
Some newer smartphones have a dedicated macro mode. Activate this for optimal close-up focus. If your phone lacks this feature, consider using external macro lenses that clip onto your phone’s camera.
Steady hands are crucial for sharp macro images. Use a tripod or brace your phone against a stable surface. Lighting is also key. Ensure ample light on your subject, using natural light or a supplementary light source if necessary.
Experiment with your phone’s manual focus if available. Gently tap the screen to select your focus point and adjust it precisely for the sharpest details. Post-processing can further enhance your macro shots by adjusting sharpness, contrast, and saturation.
Storing and Organizing Your Photos
With the large number of photos we take on our smartphones, efficient storage and organization are crucial. A cluttered photo library makes it difficult to find the images you need.
Consider these options:
- Cloud Storage: Services like iCloud, Google Photos, or Dropbox offer automatic backups and cross-device accessibility.
- Local Storage: Storing photos directly on your device or a computer offers greater control, but requires manual backups.
- External Hard Drives: A physical drive provides another backup layer and can store a vast number of photos.
Organize your photos by using albums, tags, or folders. Consistent organization will save you time and frustration in the long run.